When we think about nail care, both regular polish and gel polish have their own loyal fans. Regular polish offers endless color and design possibilities, letting us change our look every week, while gel manicures are known for their glossy finish, strong foundation, and ability to protect natural nails from daily happenings that can cause them to chip, break, or become stained. Over time, many of us have wondered if it’s possible to combine the flexibility of regular polish with the durability and strength of gel, creating a manicure that not only looks great but lasts longer without losing that vibrant color. This question has sparked plenty of conversation in the nail community, with some experts sharing safe processes for mixing them, while others warn that it could lead to issues like lifting, moisture trapping, or even nail health problems if not done correctly.
30 Second Summary
This article explains how regular nail polish can be used with gel by following proper techniques, timing, and preparation to avoid lifting, wrinkling, or nail health issues. It covers safe application methods like Gel Base + Regular Polish + Gel Topcoat, the Gelly Sandwich, and Builder Gel Base, along with essential tools, safety tips, and situations where mixing should be avoided. Expert insights stress balancing creativity with nail care for long-lasting, healthy results
Quick Answer to “Can I Use Regular Nail Polish with Gel?”
Yes, you can, but only if you follow the correct technique and give each product the proper time to set. Rushing or skipping prep can lead to poor results or even damage to the nails, while proper application ensures both beauty and durability.
Understanding the Basics
What is Regular Nail Polish?
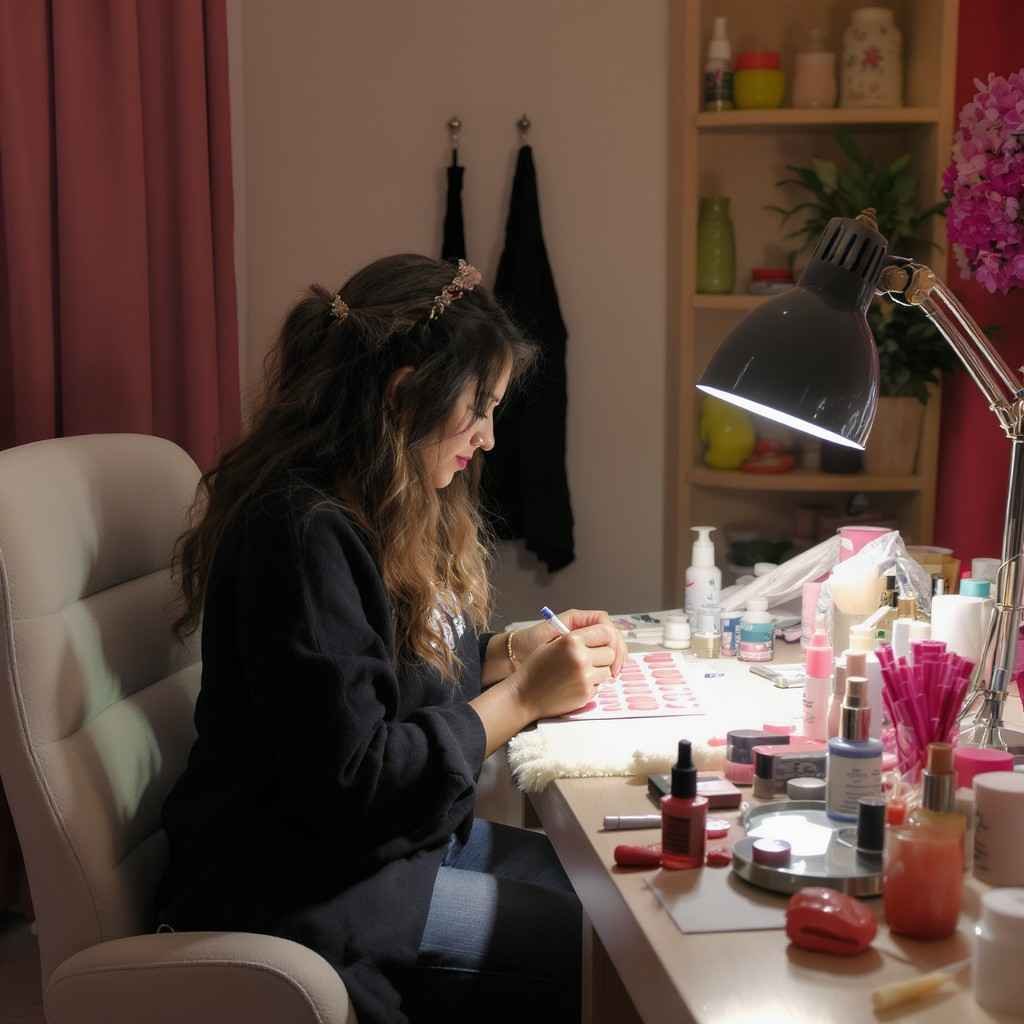
I’ve always loved regular nail polish for the freedom it gives me to change colors and designs whenever I feel like it. I can go from a bold red to a soft pastel in the same week without much planning. The only drawback is the drying process. Even with quick-dry products that make polish feel dry to the touch, I know it can still take up to 24 hours to fully set. During that time, I have to be extra careful to avoid dents, creases, or smudges. Simple daily activities like typing, cleaning, or digging through my bag can lead to chips or breaks, especially when my nails are longer. That’s what first made me start looking for something with more staying power.
What is Gel Polish?
When I discovered gel polish, it felt like a complete game changer. Instead of waiting hours for my nails to dry, I could cure them under a UV or LED light and end up with a hard, glossy finish that’s almost plastic-like. Once cured, I could carry on with my day without worrying about smudges or accidental dents. Over time, I learned there are several types of gel polish, each with its own benefits:
- Soft Gel – Often used in salons and sometimes blended with solvents for easy soak-off removal.
- Pure Gel – My favorite for its rich pigmentation and fewer layers needed for full coverage.
- Semi-Hard Gel – A mix of hard gel and pure gel that soaks off but still gives strong support, ideal for building an apex.
- Hard Gel – The most durable, but it requires filing to remove, so I avoid it for my natural nails.
- Builder Gel – Available in semi-hard and hard versions, perfect for protecting natural nails, adding structure, and preventing bending or breakage.
For me, gel polish offers a strong, smooth foundation that regular polish simply can’t match, which is exactly what led me to explore ways to combine the two.
Why I Want to Combine Them
One of the biggest reasons I like mixing regular nail polish with gel is the variety of colors, textures, and designs I can achieve with regular polish. My collection includes everything from vibrant brights to muted neutrals, along with unique finishes that just aren’t available in gel. I enjoy matching my nails to my mood, the season, or even a special event. At the same time, I’ve noticed my manicure lasts much longer when it’s supported by a strong, smooth gel foundation that adds protection and reduces the risk of chips, stains, or breaks from daily activities. By building strength with a proper gel base and maintaining an apex for structure, I can keep my natural nails safer from bending or stress while still enjoying the endless color flexibility regular polish offers. It really does feel like getting the best of both worlds.
Expert Warnings – The Risks of Mixing
One of the biggest cautions I’ve come across when combining regular nail polish with gel is the risk of trapping moisture. Regular polish can take up to 24 hours to fully dry all the way through, even if it feels dry to the touch after a few minutes or hours. When a gel topcoat is cured over polish that isn’t completely dry, it seals in that underlying moisture, creating the perfect environment for fungus to develop in the nail bed. This is something many professionals warn about, and I’ve seen how fungal issues are not only unpleasant but can also take a long time to treat.
There are also other nail health concerns I’ve noticed. If the regular polish underneath shifts or shrinks during curing, it can cause wrinkling or cracking in the manicure, making it look uneven and prone to peeling. Improper curing can also lead to lifting at the edges, which increases the chance of water and debris getting trapped under the gel layer. In more severe cases, incomplete curing or contact with uncured gel on the skin can trigger allergic reactions, which may cause discomfort and make it difficult to use gel products in the future.
Some experienced nail technicians refuse to apply a gel topcoat over regular polish for these reasons, preferring to keep the two systems separate. Their advice is usually based on both health concerns and long-term results, emphasizing that following proper gel polish protocols is key to avoiding problems.
Safe Ways to Combine Regular Polish with Gel
There are safe ways I’ve used to combine regular polish with gel so that nails get both the durability of gel and the variety of regular polish. The key is following proper steps and timing so nothing gets trapped under the gel layer and the manicure adheres correctly.
Method 1: Gel Base + Regular Polish + Gel Topcoat
The first option I often recommend is to start with a gel base coat. After prepping the nails, apply the gel base in a thin layer, cap the free edge, and cure under a UV or LED light as directed. Once cured, I paint on regular polish in the desired color, but only after the gel base has cooled. Letting the polish dry for a minimum of 4–6 hours, or ideally 24 hours, ensures all liquid ingredients have evaporated for maximum durability. When it’s completely dry, a thin gel topcoat can be applied, sealed at the edge, and cured again. For better adhesion, lightly buffing the gel base before applying regular polish and avoiding overly thick coats makes a big difference.
Method 2: “Gelly Sandwich” Technique
This approach starts with a gel base coat cured under a UV or LED lamp. After removing the tacky inhibition layer with a lint-free wipe and alcohol, one to two thin layers of regular polish or a 50–50 mix of polish and a gel transformer can be applied. If using regular polish, I make sure to wait several hours, up to a full day, for it to dry completely. Once dry, a gel topcoat is added, the edge is capped, and the nails are cured under the light. This creates a sealed “sandwich” that locks the color between gel layers, giving it a glossy, chip-resistant finish. In my experience, the thinner the layers, the better the result.
Method 3: Builder Gel Base + Regular Polish on Top
Using builder gel as the base adds an extra level of strength to natural nails. After a dry manicure and thorough prep, I apply a slip layer of builder gel, followed by building an apex for structure. This is cured under the light, then topped with a gel topcoat for a smooth surface. Regular polish can be applied over this hardened base at any time without disturbing it. When it’s time for a color change, I simply remove the regular polish with acetone or non-acetone remover without affecting the gel underneath. For full removal, the gel layer needs to be filed down and either soaked off or replaced during a fill. This method is ideal for anyone, myself included, who likes switching colors often while keeping nails strong and protected.
Want to know about Japanese Vs Traditional Gels. Check out my detailed blog.
Product & Tool Recommendations
Having the right products and tools makes all the difference when combining regular polish with gel. I’ve learned through experience that a good gel lamp is non-negotiable because without proper curing, gel products simply won’t harden completely, which can lead to lifting or even allergic reactions. UV lamps usually take around two minutes to cure each layer, while LED lamps cure much faster, often in 30–60 seconds. Personally, I prefer a full-hand lamp for convenience, though a mini lamp can be handy for quick fixes or single-nail repairs.
When it comes to builder gels, both clear and tinted options are useful depending on the look you want. Clear builder gels and semi-hard bases offer strength and soak-off flexibility, while tinted base gels in neutral or soft shades give a subtle backdrop for nail art or make colors pop. From my own routine, I can say a reliable gel base coat is essential for proper adhesion, and a high-quality top coat, preferably an ultra-glossy non-wipe formula, provides a long-lasting shine without the extra step of removing a sticky layer.
Prep tools are just as important as the gel itself. Nail buffers and files smooth and shape the surface, brushes allow for precise application, and lint-free wipes with alcohol ensure a clean base before curing. I often use an electric drill with fine drill bits to speed up removal and cuticle prep, making the process cleaner and more professional. For full removals, reusable gel removal caps are my go-to, as they are a sustainable alternative to foil wraps while keeping acetone in contact with the nail for efficient soaking.
For anyone trying the gelly sandwich method, a polish-to-gel transformer can help blend regular polish into a gel-compatible layer, making it easier to seal under a top coat. Whether using builder gel, a transformer, or just a base and top coat, having these products and tools ready makes the process smoother and the results far more polished.
When combining regular polish with gel, timing is everything. I make sure regular polish is completely cured before adding a gel topcoat, sometimes waiting a full 24 hours to ensure all moisture has evaporated. Applying gel over wet or partially dried polish can lead to wrinkling, peeling, or, worse, trapping moisture under the gel, which raises the risk of fungus. For the same reason, it’s crucial to avoid “sandwiching” wet regular polish between gel layers.
Safety Tips & Best Practices
Protection during curing is another best practice that’s often overlooked. I’ve made it a habit to protect my hands before using UV or LED lamps, as they expose the skin to light that can contribute to premature skin aging over time. Many professionals recommend, and I agree, applying a broad-spectrum SPF 30 sunscreen beforehand or wearing UV-protective manicure gloves with the fingertips cut off. Both are smart, simple steps that can make a big difference in the long run.
Proper removal is just as important for maintaining healthy nails. I’ve seen people pick or peel at gel layers, but this can strip away parts of the natural nail, causing thinning or breakage. The better approach is to file down the top coat to break the seal, then soak the nails with acetone using remover caps or wraps until the gel can be gently pushed away. From personal experience, taking the time to follow these steps not only preserves the manicure but also protects the health and strength of the nails underneath.
Expert Opinions – When to Avoid This Completely
There are situations where combining regular polish with gel simply isn’t worth the risk. I’ve learned that if nails are already damaged, peeling, or showing signs of infection, adding a gel layer over regular polish can actually make things worse by sealing in bacteria or fungus. Professionals often stress that people with a history of allergic reactions to gel ingredients should avoid this method altogether, since improper curing or even slight skin contact can cause irritation or long-term sensitivity. Even something as small as recurring lifting around the edges of the gel layer can allow moisture to seep in, creating the perfect environment for nail health issues to develop.
This is exactly why some professional salons refuse to mix regular polish and gel at all. From their perspective, the potential problems outweigh the benefits, especially if clients expect results to last as long as a full gel manicure. Many nail techs prefer to stick with either a complete gel process or an all-regular polish process, strictly following established protocols for each. In the end, that professional caution often translates into longer-lasting, healthier nails for clients, and from what I’ve seen, it’s a choice that pays off in both durability and nail health.
Final Verdict
Yes, it’s possible to use regular nail polish with gel, but the difference between a flawless result and a frustrating one comes down to technique and patience. I’ve found that when regular polish is given enough time to fully dry before sealing it with a gel topcoat, or when it’s applied over a solid builder gel base, the combination offers the best of both worlds: the flexibility to enjoy an unlimited variety of colors with the strength and protection gel provides.
However, I’ve also seen how rushing the process or skipping essential prep steps can quickly lead to lifting, wrinkling, or even long-term nail health problems. Professionals agree that the best results happen when creativity is balanced with proper nail care, so the manicure doesn’t just look good, it lasts, and the nails stay healthy in the process.
FAQ’S
Can you put regular nail polish over gel nails?
I love how a gel manicure offers protection with its thicker base and top coat, and as someone who always wants to change color, I gently buffer and remove it before I apply regular nail polish over the gel, a fun Sandwich or “gelly” trick that lets me switch up my look while avoiding the slick surface that might peel. Even if I’m layering Shellac, PolyGel, or dip powder, it stays secure and seamless.
Can you put a gel top coat over regular nail polish?
I learned that when I give my regular nail polish the true 24 hours it takes to dry completely, I can then thoughtfully apply a gel topcoat to get that shiny, hard surface that fights chipping, adds durability, and builds high-gloss integrity, but I also know to avoid trapping moisture or risking fungus by curing under a UV or LED lamp for 30-60 seconds, because bypassing that wait can cause damage, and while this combo can give an extra one-two days of wear, it can’t match a full gel manicure, though it still helps smooth, expand color, protect glitter, and feels more durable than plain polish; when it’s time to remove it, I gently soak in acetone.
Can regular nail polish cure under a UV or LED lamp?
I’ve learned the hard way that tossing regular nail polish under a UV or LED lamp won’t make it cure. It won’t dry like air-dry polish because it lacks photoinitiators, so it just stays sticky or smudged instead of setting, proving the formulation difference between gel and non-gel; despite exposure to light, it simply won’t work properly, and you’ll wind up with a sticky, just not right manicure.
How long should regular polish dry before applying a gel top coat?
I always wait long enough for regular polish to dry, ideally a full 24 hours, especially after thick layers, before applying a gel top coat, so I can prevent wrinkle, crack, or peeling, and avoid moisture trap that could cause damage to the nail bed; giving it time ensures a smooth surface, better adhesion, and safe curing under a UV or LED lamp.
Can you mix gel polish with regular polish?
When I mix gel polish with regular polish, the result can be inconsistent. Sometimes it’s uneven, doesn’t cure or dry properly, and leaves a sticky layer; even if I blend the right ratio, the light from UV or LED may still cause poor adhesion, peeling, or a chip, and the color might lighten or the texture turn off, thanks to incompatible formulation, so I prefer to seal with a topcoat for a smooth finish after an experiment like this.